• Blog
  • A La Carte
  • Archives
  • About Me
Menu

The Hungry Scribbler

  • Blog
  • A La Carte
  • Archives
  • About Me

Strawberries and Cream Oat Scones & A Simple Salmon Berry Shrub

June 12, 2015

A couple of nights ago, I looked out the window to see the sky stained twilight blue, the last of the day's glow stubbornly pushing against the coming of night. It was 10 p.m. The days of extended light are stretching out toward their midsummer peak right about now. 

For me, this means one thing: it's berry time.

When it comes to berries of any kind, I am a greedy little child. I am a crazy fool who can't stop stuffing them into her mouth. I am that person whose tongue is stained red, purple and sometimes blue, juices leaking down her chin. And I don't care.

Before I lived in Washington, berries weren't that big of a deal to me. It sounds weird to say that now. But, in Southern California, where I grew up, we had citrus - tangy and bitter kumquats that my grandmother grew, endless supplies of yellow grapefruit from the backyard tree. Oranges and lemons from next door. These were the fruits that sustained me.

Then, we moved to the Pacific Northwest. Berry country. While I still love my citrus fruits, they don't grow here and berries have taken their place front and center.

So this is how it goes around here. First there are the local strawberries at the end of May, which last for about five weeks into June. Then in July, there are the raspberries, which I could eat forever. Then sweet and easy-to-love blueberries arrive and stay on into September.

Cultivated strawberries from Everson, WA.

Around the same time as the blueberries, the wild blackberries appear growing in unruly thickets along fence lines, trails and streets both wide and narrow.

Himalayan and evergreen blackberry varieties are considered invasive ("class C noxious weeds," according to the state of Washington, for those who insist on the facts). I know people who loathe them because no matter how you beat them back from the edge of your property, they just keep returning.

Maybe it's because I'm not from here that I have to say but wait, wait! Taste them.

There is just something about walking along, plucking the blackberries from their thorny branches. Popping them into your mouth and letting the tart floral juices pool on your tongue for a moment before they trickle down your throat. It's intoxicating.

Not only is this is the closest thing any of us get to grazing like a wild animal. For me, picking wild berries is the closest we'll ever come to knowing what it was like before Adam ate that damned apple, when humankind resided in innocence and perfection.

But wait. There is, of course, more. Between the wild blackberries and local farm-cultivated berries, we have red huckleberries, currants, thimbleberries, wild strawberries and salmon berries throughout the woods and free for the taking.

Wild salmonberries. They look a bit like raspberries. But also a bit like salmon roe. And, they taste floral and melon-y at the same time.

I'll pick and forage enough berries during these warmer months to make different jams, jellies, vinegar shrubs and baked treats. I'll also definitely freeze some of my loot so that during the long, dark months of winter, our family will have these sweet jewels to fill the short days with light.

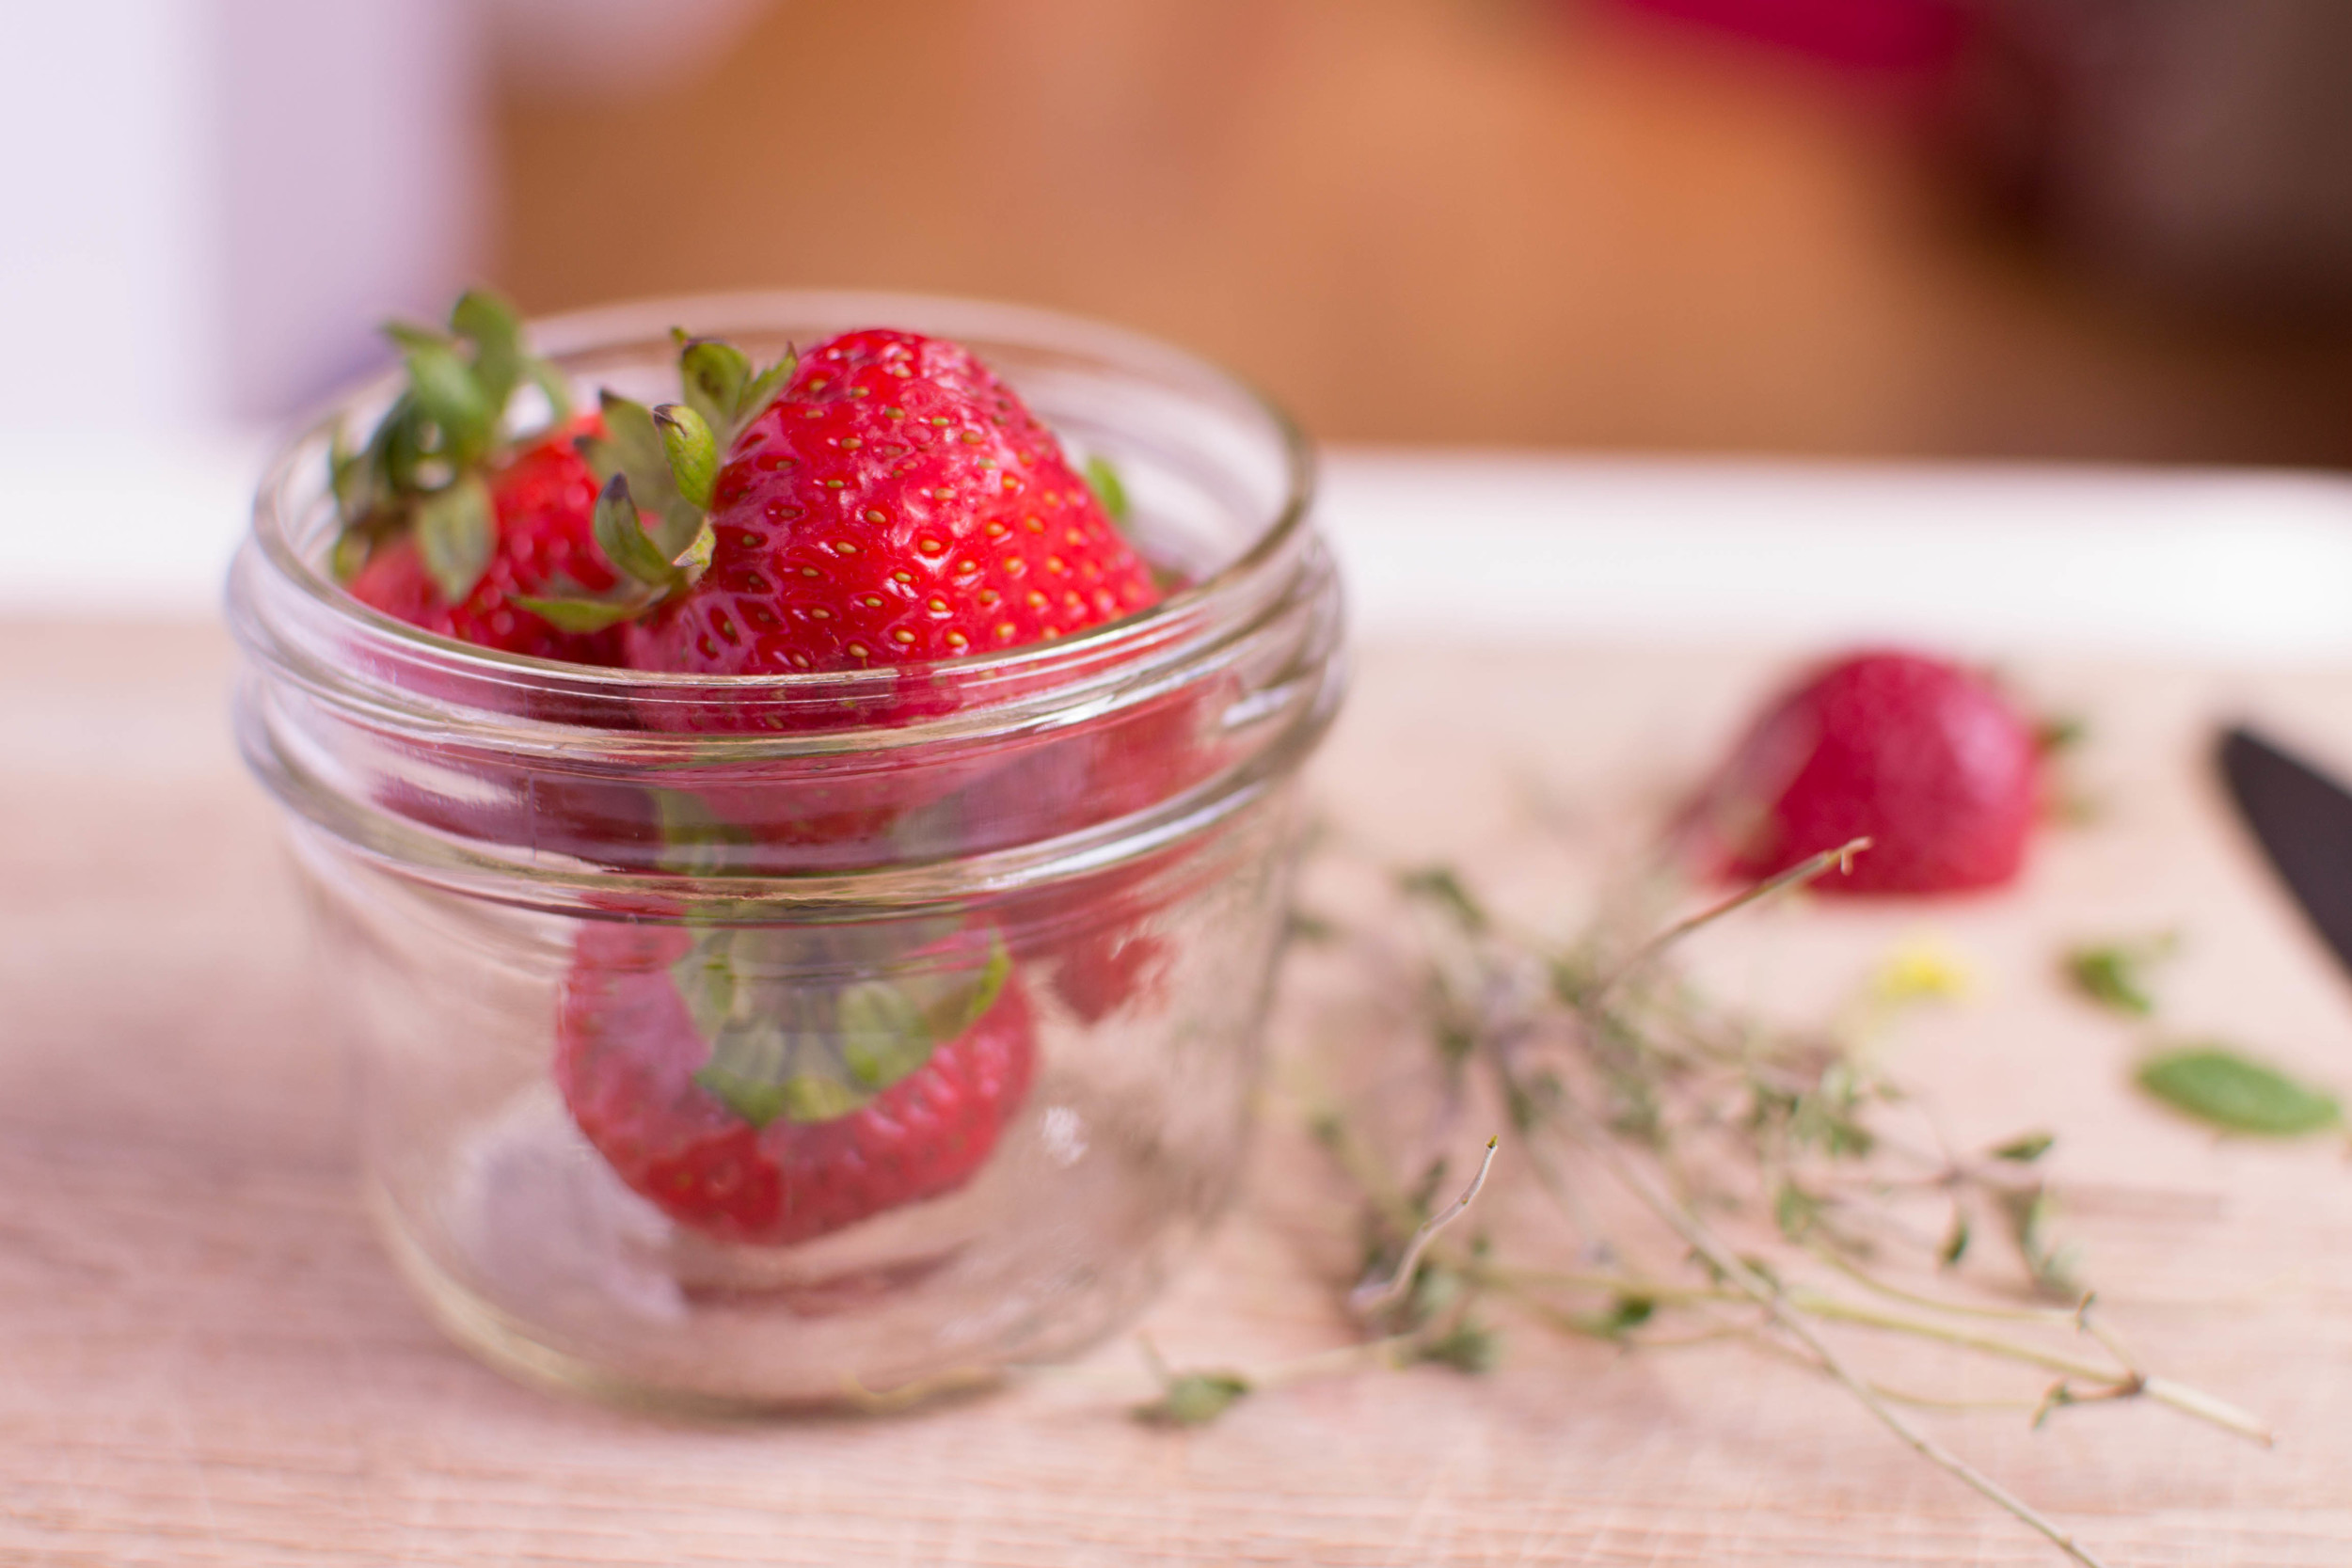
This year, Kingston and I started our berry celebration once again at Spring Frog Farm in Everson. After petting their big black farm cat sufficiently (per the three-year-old), we plonked our knees into the dirt and reached our hands under the low-growing plants to pick heaps and heaps of strawberries.

Once we brought them home, we cooked up a batch of Rachel Saunder's Children's Strawberry Jam (our favorite) then baked these tender scones for you.

We hope you'll enjoy every morsel.

Strawberries and Cream Oat Scones
Because this recipe uses oats along with all-purpose flour, these scones are a bit more fragile that you might typically expect. Using the oats is worth it though because the oats bring the butter flavor even more strongly to the fore than all-purpose flour alone would. (Note: Alice Medrich mentions this in the oat flour chapter of her wonderful book, Flavor Flours.) Just let the scones cool for at least 15 minutes and they will be more willing to be picked up and handled by a hungry eater.  

Makes 8 scones.

Ingredients
1 1/2 cup (180g) all-purpose flour
1 1/4 cup (116 g) old-fashioned oats, divided
2 teaspoons (12 g) ground flax seeds
5 tablespoons (65 g) fine natural cane or granulated sugar
1 tablespoons baking powder
1/4 teaspoon fine sea salt
6 tablespoons (85 g) cold butter, cut into 1/2 to 3/4-inch pieces
3/4 cup strawberries, hulled 
3/4 cup heavy whipping cream, plus extra for finishing
1 cold large egg
1/2 teaspoon vanilla extract
Demarara or turbinado sugar for sprinkling

Instructions
Preheat oven to 425 degrees.

Place a piece of parchment on a baking sheet. Set aside.

Cut strawberries lengthwise into 1/4-inch slices, then cut crosswise into 1/2-inch pieces. Set aside in small bowl.

Put half of the oats into a blender or mini-processor, whizzing to fine consistency. In a large bowl, combine the ground oats, all-purpose flour, flax seeds, sugar, baking powder and sea salt. Add in the remaining (unprocessed) oats.

Toss butter into the flour mixture, so that all pieces are coated. Putting hands into an offering gesture, place some of the flour and butter into your open-palmed hands. Using your fingers and thumbs, press down on the butter, smearing it into the flour. Allow bits of the mixture to fall back through your fingertips and into the bowl. Repeat until you have worked the butter through most of the flour. You will notice that you can really start smelling the butter, which means that it is warming up and really getting worked in. Toss the strawberries in, using your hands to gently distribute the fruit throughout the mixture.

Whisk together the cream, egg and vanilla. Slowly drizzle it in a spiral motion from the outside in toward the center of your flour-butter mixture. Using a fork, quickly work the wet ingredients in. Take a bit of the dough without any strawberries and squeeze it. If it holds together, it has enough moisture. If it doesn't, add a few drops more cream. Test again by squeezing a bit of dough together. You dough will appear shaggy, but there is no need to fret.

Tip the dough mixture onto a lightly floured surface. Gather it together kneading quickly and lightly. Shape the dough into a 1--inch thick circle. Using a floured knife or pastry scraper, cut in half, then again into quarters. Cut twice more across the circle until you have 8 wedges. (Alternatively, you could use a biscuit cutter and make these into round shapes.) Place wedges on your prepared sheet.

It's best to let your scones rest for 20 minutes, or longer, if you have the time. Place them in the refrigerator or freezer to rest.

When ready, brush some cream onto the tops of the scones. Sprinkle generously with sugar.

Place scones in the middle of oven. Bake for 20-22 minutes, or until golden brown. Remove from the oven and allow to cool for 2 minutes. Serve warm or at room temperature.

Keeps in a sealed container for 2-3 days. Reheat them at low heat in the oven if you wish.

Adapted from Tara O'Brady's wonderful new book, Seven Spoons. Go out and buy it already, people. It belongs on your kitchen bookshelf.


Simple Salmon Berry Shrub

Makes about 2 cups.

Ingredients
1 cup salmon berries
1 cup raw unrefined cane sugar
1 cup apple raw (unpasteurized) cider vinegar

Instructions
Give your berries a gentle rinse and drain in a colander.

Place berries in a medium non-reactive bowl. Crush berries lightly with the tines of a fork to release the juices. Pour sugar over the berries, stirring so that all the berries are coated.

Cover mixture and place in the refrigerator for at least several hours and up to a couple of days.

When you uncover the bowl, you'll see that the berries have exuded their juices and combined with the sugar to form a syrup. Scrape berries, syrup and any remaining undissolved sugar into a fine-meshed sieved over a bowl and press through the sieve.

Combine the collected syrup, juices and sugar with the vinegar and pour into a sterilized bottle or large jar with a non-metallic lid. Any remaining undissolved sugar will eventually be dissolved by the acids in the vinegar.

Use right away or allow to age slightly in the fridge. Your shrub will mellow out and the flavors will come together the longer it is allowed to sit, up to one month. Use the shrub in a cocktail or enjoy simply with some soda water and a bit of citrus.

Note: If you can't find any salmon berries, feel free to substitute another type. Raspberries will do just nicely, for example.

In Baked Goods, Breakfast/Brunch, Fruit, Grains, Spring Tags Strawberries and Cream Oat Scones
2 Comments

Mango Celebration Cake

May 10, 2015

No matter what they say, giving birth is neither easy nor remotely fun. But at the end of it - the beginning, really - when you are holding what looks to be a slightly shriveled, tiny alien in your tired arms, you feel powerful and complete.

Today, I'm not talking about literal birth, as in pushing out a small human, which is what I've done once. And how immediately afterward, I developed the iron-clad certainty that I could do anything to which I set my mind.

I'm talking about starting a blog. Yes, one of the ways in which I am celebrating Mother's Day is by remembering how a year ago, after my neighbor, Heather, kept saying I should start a blog, I actually did it. I birthed this. 

One year. Happy Birthday dear blog!

What an experience it's been, plunking down words and doing my best with making my food shots look appetizing (still working on it, yes indeed). I've been learning and learning about all sorts of things from so many people. Some highlights...

At a food photography workshop this Spring, I had the opportunity to meet other bloggers, writers and photographers, all wonderful folks. The two amazing days together were led by Sara and Hugh Forte of the Sprouted Kitchen. Sara helped me to realize that a tomato looks most beautiful and enticing when you actually cut into it. Her husband, Hugh, provided us with guidance on ways to shape light, among other things. And both of them emphasized the need for an authentic voice, one that is true to you and only you.

I got to meet Molly Wizenberg of Orangette at the Pantry in Seattle in February. In her warm, kind manner, she too stressed authenticity of voice. Actually, I can't stop thinking about the experience I had there and I've been reading the whole of her book, A Homemade Life (I'd only read excerpts before). Oh my, can this woman write. Bravely, beautifully, the way I too want to write about life and all the people and things I love.

Pie crust! I figured out how to make pie crust without fear or anxiety from Kate Lebo and her lively little book, Pie School. If you are as scared of making pie crust as I was (for years), the fear ends now. Just get her book and soon, you'll be dreamily massaging butter into flour (ahhh, so relaxing).

I don't know what will become of this child, this blog of mine. But I am tending to it the best I can. The British pediatrician and child analyst, D.W. Winnicott, said that as parents, we can ever only be "good enough." The idea is that there might be times when we cannot meet our child's every single need. We may even disappoint him or her completely.

But then that is exactly what children need to grow -- a subtle push toward independence and knowing that even without Mama or Dad, they can manage a few small things on their own. I'm not sure if being "good enough" necessarily applies to blogs, but we'll see.

On Mother's Day, I think it's worth remembering that we can all be mothers, each and every one of us, regardless of age or gender. I firmly believe that to be a mother is to create. Nearly all of us have the capacity to do just that -- to make each day into something, whether it's getting pancakes going to feed the family, stitching together an apron or cooking up a pot of chicken soup. Just bringing something into the world with energy and joy is what matters.

Happy Mother's Day to all the makers and creators out there! Don't forget to just be you. 

Now, let's eat cake.

Mango Celebration Cake

This cake is adapted from Tessa Kiros. It has become our family's go-to Spring birthday cake, when after a long, dark winter we are dying for something fruity (and not rhubarb) and it's too early yet for strawberries. It's a homely, barely sweet cake which reminds me of the cakes I enjoyed growing up in L.A.'s Chinatown. You can play around with the fruit fillings. Kiwi, banana, strawberries. Go a little crazy. If you like a weightier topping than whipped cream alone, the addition of some mascarpone is also delicious.

Serves 8-10

Ingredients
1 3/4 cups (164 g) all-purpose flour
3/4 cups (151 g) granulated sugar
1/4 teaspoon kosher salt
3 teaspoons baking powder, divided (see below)
1 1/2 sticks (12 tablespoons) unsalted butter, melted
3/4 cup warm whole milk
4 large eggs, separated
1 teaspoon vanilla extract

3 medium-sized, ripe mangos
1/2 teaspoon lime juice
3 tablespoons powdered sugar
2 cups heavy whipping cream

Instructions
Preheat oven to 350 degrees. Butter and flour an 8 1/2" springform pan.

In a large bowl, whisk together the flour, sugar, salt and 1 teaspoon of the baking powder. Stir in the melted butter and then the milk. Add the egg yolks and vanilla. Beat well.

In a separate bowl, whisk the egg whites to soft peaks, incorporating the remaining 2 teaspoons of baking powder after the whites have foamed up and begun to turn opaque and fluffy. Fold the whites into the cake mixture using the largest spatula you have.

Pour the batter into your prepared pan. Bake for about 1 hour, or until a skewer inserted in the middle comes out clean. The top should be crisp and golden. Remove the cake from the oven and allow it to cool on a rack. Once the cake has cooled, slice it in half and place the bottom on a serving platter or cake stand.

Peel the mangoes. Cut one mango into lengthwise slices about 1/4" thick. Set aside. Dice the remaining two mangoes (about 1 1/2 cups), sprinkle with lime juice, and place in a medium bowl.

Whisk heavy whipping cream and powdered sugar together until it forms stiff peaks. Mix slightly less than half of the whipping cream in with the diced mango. Spread this mango mixture onto the bottom half of the cake. Place the top half on the mango mixture. Scoop the remaining whipped cream onto the top of the cake and sides. Decorate the cake with the mango slices.

In Desserts, Fruit Tags Mango Celebration Cake
Comment

Pear Crumble Tart

February 11, 2015

Darkest February is that time of year when, in these parts, we burrow beneath layers of cozy blankets and like story book bears, wait - unperturbed by anything, including inclement weather, the scent of popcorn, or the fragrance of a temptingly smoked black tea - for the arrival of Spring.

I propose that rather than settling any further into bear-like hibernation, we do exactly the opposite. Let us throw off the blankets and stretch our arms wide before we head outside to breathe fresh air.

While out, we might even consider catching up with a dear friend or neighbor. A chance run-in just as one steps onto a trail in the dimly-lit woods is as good a time as any to invite that familiar face over for some tea and sweets, and very soon indeed. Science, after all approves of this type of behavior, confirming that the more social interactions we have, the happier we are as human beings.

The expectation of a casual visit is the perfect occasion for baking up something nice but not too elaborate. Some scones would be just right, a pie even more welcoming. A tart? Even better - it sounds fancier and will surely make your tea-time guest feel all the more special.

I suggest you bake this one, adapted from David Liebovitz's book, My Paris Kitchen (one of my favorites of 2014). Instead of using all-purpose flour as he does, I've gone with spelt which gives the cookie-like crust a nutty flavor and slightly sturdier texture. The crumble topping is a warm and friendly touch, making the tart American-accessible. After all, who among us of the stars-and stripes persuasion can resist a homey crumble - pear, apple, or otherwise?

I also chose pears instead of the original apricots after realizing that between the fridge in our kitchen and the one in our garage, I had amassed over ten pounds of Bosc and Anjou pears, by now all nearly ripe. Time to use them!

Call, text, or email a friend. Or, step a few yards beyond your door to gather in a neighbor. As you sit connecting with another person over a slice of something this good, chatting about the break in the rain or a recent sighting of hooded mergansers, your mood will lift. And, you'll be glad you came out of hibernation.

Winter beauty as found in a pound of pears.

Pear Crumble Tart

Serves 8 to 10

Ingredients

Dough
6 tablespoons (85 grams) unsalted butter, chilled
1/2 cup (100 grams) granulated sugar
2 large egg yolks
1 1/4 cups (175 grams) spelt flour
1/2 teaspoon kosher salt

Crumble Topping
3/4 cup (75 grams) whole almonds
1/2 cup (70 grams) spelt flour
1/3 cup (60 grams) packed light brown sugar
1/2 teaspoon ground cinnamon
1/4 teaspoon ground allspice
1/4 teaspoon kosher salt
6 tablespoons (85 grams) unsalted butter, chilled and cubed

Filling
2 pounds ripe pears (Bosc, Anjou), peeled, cored, and cut into 1/4-inch slices
2 tablespoons granulated sugar
2 tablespoons lemon juice, freshly squeezed 
1 tablespoon cornstarch
1 teaspoon vanilla extract
1/4 teaspoon almond extract

Crème fraiche or whipped cream for serving

Instructions
For the crust: Remove butter 10 minutes prior to using to allow to soften slightly in bowl of stand mixer fitted with paddle attachment. Add sugar and beat on medium, just until incorporated. Add egg yolks, flour, and salt. Mix until dough comes together.

Coat bottom and sides of 9 to 10-inch springform pan with nonstick spray or a thin layer of butter. Use the heel of your hand to press dough into the pan and almost halfway up the sides of the pan. The bottom should be even to ensure that it bakes evenly. Place in the freezer for half an hour.

For the crumble topping: Pulse almonds, flour, brown sugar, cinnamon, allspice and kosher salt in a food processor until the almonds are broken into very small pieces. Add butter and pulse again for a few moments until mixture looks sandy. Continue to pulse until pieces are just clumping together.

Preheat oven to 375 degrees.

Lined the chilled tart crust with aluminum foil or a piece of parchment paper and cover with a layer of pie weights or dried beans. Bake for 20 minutes, remove foil/paper and weights and bake for an additional 5 to 10 minutes, until crust is browned. Remove from oven.

For the filling: In a bowl, mix together the pears, lemon juice, sugar, cornstarch, and vanilla and almond extracts. Place the pear filling evenly into the tart shell. Strew crumble topping over the pears. The pears will be almost entirely covered by the topping.

Bake tart for 50 minutes, until the crumble topping has browned. Cool on a wire rack for a few minutes then run a knife around the outside of the crust to separate it from the pan. Allow to rest in the pan for 30 more minutes. Remove sides of the springform and allow tart to continue cooling.

This tart can be served warm or at room temperature. It is delicious with a dollop of crème fraiche or whipped cream.

In Desserts, Fruit Tags Pear Crumble Tart
Comment

Pot de Creme with Roasted Strawberries

June 22, 2014

Have you seen all the roasted strawberry ice cream recipes floating around the internet lately?  

Okay, I had to try one. I chose David Liebovitz’, which also includes miso. But, I skipped the miso since I didn’t have any. And, I used my neighbor Heather’s ice cream machine, which she lent to me while she was out of town.

This ice cream! My, was it delicious.

If you haven’t made it already, you should. It is incredible: A creamy vanilla base streaked through with sweet-tart, deeply-flavored strawberries.

Roasting the fruit removes much of the water and cooking it with the syrup helps prevent the fruit from freezing into icy bits. Instead, while in the oven, the strawberries develop a complexity worthy of partnership with the cream-and-custard base.

After Heather returned, I gave the machine back (and have been contemplating buying one ever since). Yes, fresh ice cream is incomparable.

I know there are many ice cream recipes out there which don't require a machine, including some by Nigella Lawson. I just haven't tried them yet. But I will. Soon.

Today, though, I was craving flavors similar to that strawberry ice cream. The David Liebovitz one. 

I made this instead.

Nothing plain Jane about this custard...

Pot de crème is basically an egg custard. It is a simple and often considered by some as a homely sort here in America, where the general preference runs toward more showy, decadent desserts whose names suggest the idea of sin.

Sometimes though, all I want is a little sweetness and nothing over the top. As I made my pot de creme today, I remembered eating an ethereal, just sweetened steamed custard before bedtime as a child. 

I encourage you to embrace the humble custard. Classic ice cream begins with a custard, so why not choose this?

I made the same roasted strawberries from the David Liebovitz recipe and put them in the bottom of a glass topped with a vanilla custard. Then, I put the whole thing into a water bath in the oven. After my custards cooled a bit, I spooned just a tad more of the strawberries and syrup over each one.

Not ice cream. Not David Liebovitz’ most delicious ice cream ever, but a good second choice. Which I'd say is not a bad thing at all.

Here’s to being Number Two! 

P.S. If you want to be a real American about it, a good dollop of sweetened whipped cream on top would also be divine.

Pot de Crème with Roasted Strawberries

Makes 6 small custards (in 4-6 ounce ramekins). Or, make fewer but larger ones, if you wish!

Ingredients
For the Roasted Strawberries
1 dry pint strawberries, hulled
1 ½ Tablespoons golden syrup or honey
¼ teaspoon balsamic vinegar
A couple of turns of fresh black pepper

For the Custard
2 1/3 cups half-and-half
1 vanilla bean, split in half
5 large egg yolks
¼ cup evaporated cane sugar
½ teaspoon vanilla extract

Instructions
Roasted Strawberries: 
Preheat oven to 375 degrees. 

Cut berries into quarters. Place in a wide, shallow dish. Drizzle golden syrup and balsamic vinegar over the berries. Sprinkle pepper on top. Place on top rack of oven. Stir once or twice during the cooking process. Allow to cook for 30-40 minutes, until berries are softened, have darkened a bit and syrup has become thickened.

Add a tablespoon to the bottom of each ramekin; set aside. (Strawberries may be prepared up to three days ahead and refrigerated.)

Custard:
Preheat oven to 320 degrees.

In a saucepan, place half-and-half. Using a small paring knife, scrape in vanilla seeds from split bean and toss in the pod itself. Bring to a gentle boil then remove from the pot. Allow to infuse for a minimum of 30 minutes. Use a fine sieve, strain the liquid. The half-and-half should remain warm to the touch.

In a bowl, beat the yolks with the sugar. Pour the infused half-and-half slowly, whisking the mixture. Stir in the vanilla extract. Pour the mixture into your ramekins or jars, making sure to remove any foam that might have formed on the surface.

Set jars in a pan and fill half way up the sides of the jars with warm water. Cover tightly with foil. Place in oven and cook for 40-45 minutes, until the custard is jiggly but not set.

Top with remaining roasted strawberries and/or sweetened whipped cream.

Note: Can be stored in the refrigerator for up to 3 days after warming up at room temperature. But these are best when still slightly warm! 

Adapted from/inspired by the amazing David Liebovitz.

In Fruit, Summer Tags Pot de Creme with Roasted Strawberries, Gluten-Free
Comment

Fresh Strawberries with Roasted Spiced Nuts and Seeds

June 8, 2014

Hey Strawberries! You’re back! And I sure am glad.

I picked up some beautiful ‘Hood’ strawberries from Spring Frog Farm at the Holistic Homestead's farmer's market stand yesterday. They were juicy, sweet and everything I expect the perfect strawberry to be.

After savoring a bunch directly from the basket, I decided to dress them up a bit just for fun.

Growing up in our family of Chinese immigrants, we weren’t big on dessert. No whipped cream, stacked napoleons, baked profiteroles. There was nary a meringue to be found.

Instead, we had fresh fruit after our meals. Usually succulent San Bernadino navels, nibbles of tart, floral kumquats and other local citrus.

With six kids around, there was no time for dressing up fruit or much else, anyway. For us, the fruit we gobbled down already tasted delicious on its own - peeled, segments separated, our hands sticky with fresh juice and oils from the citrus zest.

For my newly-acquired berries, I wanted the dress up to be fairly simple. I thought about Morrocco. I wanted some nuts, seeds and honey. Maybe I would also add some spices.  

I used some local honey and hazelnuts I had and added in the richness of pine nuts. Ground pepper and coriander seemed like they could become fast friends with the strawberries.

This is what came out of my experiment. It is a tasty and easy recipe to fiddle around with on a relaxed weekend day.

Use any nuts or seeds you have on hand. Adjust the spices. Play!


Fresh Strawberries with Roasted Spiced Nuts and Seeds and Honey

Ingredients

Half a pint of fresh strawberries, quartered 
3 tablespoons hazelnuts (or any other nuts and seeds of your choosing) 
2 tablespoons pine nuts
1 tablespoons unsalted butter, melted
½ teaspoon black pepper, coarsely ground
½ teaspoon coriander, ground
2 teaspoons thin honey
Lemon zest for garnish, optional

Instructions

Preheat oven to 375 degrees.

Place quartered strawberries in small bowl.

Prepare baking sheet by placing small piece of parchment or silicone mat on pan. In another small bowl, combine nuts, seeds, butter, pepper and coriander. Place mixture on baking sheet and transfer to oven. Bake for 7 minutes.

Remove nuts and seeds from oven. Pour honey over to combine.  Cool slightly then spoon over the strawberries. 

Garnish with lemon zest if desired.

Enjoy this sweet and tart, floral and peppery concoction immediately. The pepper lingers on the tongue, an echo of the delicious flavors of which you have just partaken.

Not a morsel left. It was that delicious.

In Gluten Free, Summer, Fruit Tags Fresh Strawberries
Comment
← Newer Posts
Change is in the air/hair. #haircut #newhair #goldcombsalon #pnwfall
When’s the last time you saw a 5-day old baby donkey? We saw this one today. He stopped to say hi to us after nuzzling his sweet mama. #cutenessoverload #donkey #farmlife #pnw
New bread board, close up. My goodness, what an amazing Mother's Day present! It's a single piece of maple 2 1/2 x 4 feet with gorgeous spalting. Mark the woodworker at Hardwood to Get here in town spiffed it all up for me. Happy Mother's Day to all
So here's my question. If it's a double rainbow does that mean there are two pots of gold? #rainbow #pnw #pnwspring
This book! Ugh, just glorious. My brother keeps those Amazon warehouse robots busy by sending me amazing books he thinks I should read. Everyone needs a brother like him. #emilferris #readingbingetonight #myfavoritethingismonsters #graphicnovel
Bold bake for breakfast today. It's the rye-wheat from @blainewetzel 's beautiful Sea and Smoke. I love how this book highlights so many special plants and ingredients we have in this area, including those right here across the bay from alumni. #rye
From the weekend Easter Egg Hunt. While all the kids and competitive kids-at-heart were running through the woods looking for eggs, I was on the forest floor snipping nettles and fiddleheads. Priorities, you know? I managed to leave the hunt with one
Ssh! Don't tell. We went off the trail! But then we found salamander eggs, tree frogs and touched our fingers to a cascade of sap flowing down the side of a Douglas Fir tree. Spring means the woods are noisy and so alive. #exploringnature #nature #wo
So I was minding my own business, trying to get a #crumbshot of the Country Loaf I made during @matts_miche 'a awesome bakealong, when someone's paper airplane landed exactly on top of my loaf. #photobombed #bread #bread🍞#naturallyleavened #sourdoug
“It is impossible not to love someone who makes toast for you. People’s failings, even major ones such as when they make you wear short trousers to school, fall into insignificance as your teeth break through the rough, toasted crust and sink into the doughy cushion of white bread underneath. Once the warm, salty butter has hit your tongue, you are smitten. Putty in their hands.”
— Nigel Slater

Still Hungry?
Enter your email address:

Powered by Squarespace