• Blog
  • A La Carte
  • Archives
  • About Me
Menu

The Hungry Scribbler

  • Blog
  • A La Carte
  • Archives
  • About Me

Coffee Jelly with Chantilly Cream

July 11, 2014

It’s hot out. Finally.

I heard someone say in passing the other day that the summers here in Western Washington don’t technically start until July 5th.

That’s only if we’re lucky.

If it’s a year when we aren’t so fortunate, we’re still wearing our rain coats through July, pulling up our pant legs to look at our pasty-white ankles and turning on the heat while wondering why we have chosen to live up here.

Then August arrives. And we remember why.

Using the word glorious to describe what it’s like here then is to thoroughly undersell the very brief - but glorious - summers we do enjoy.

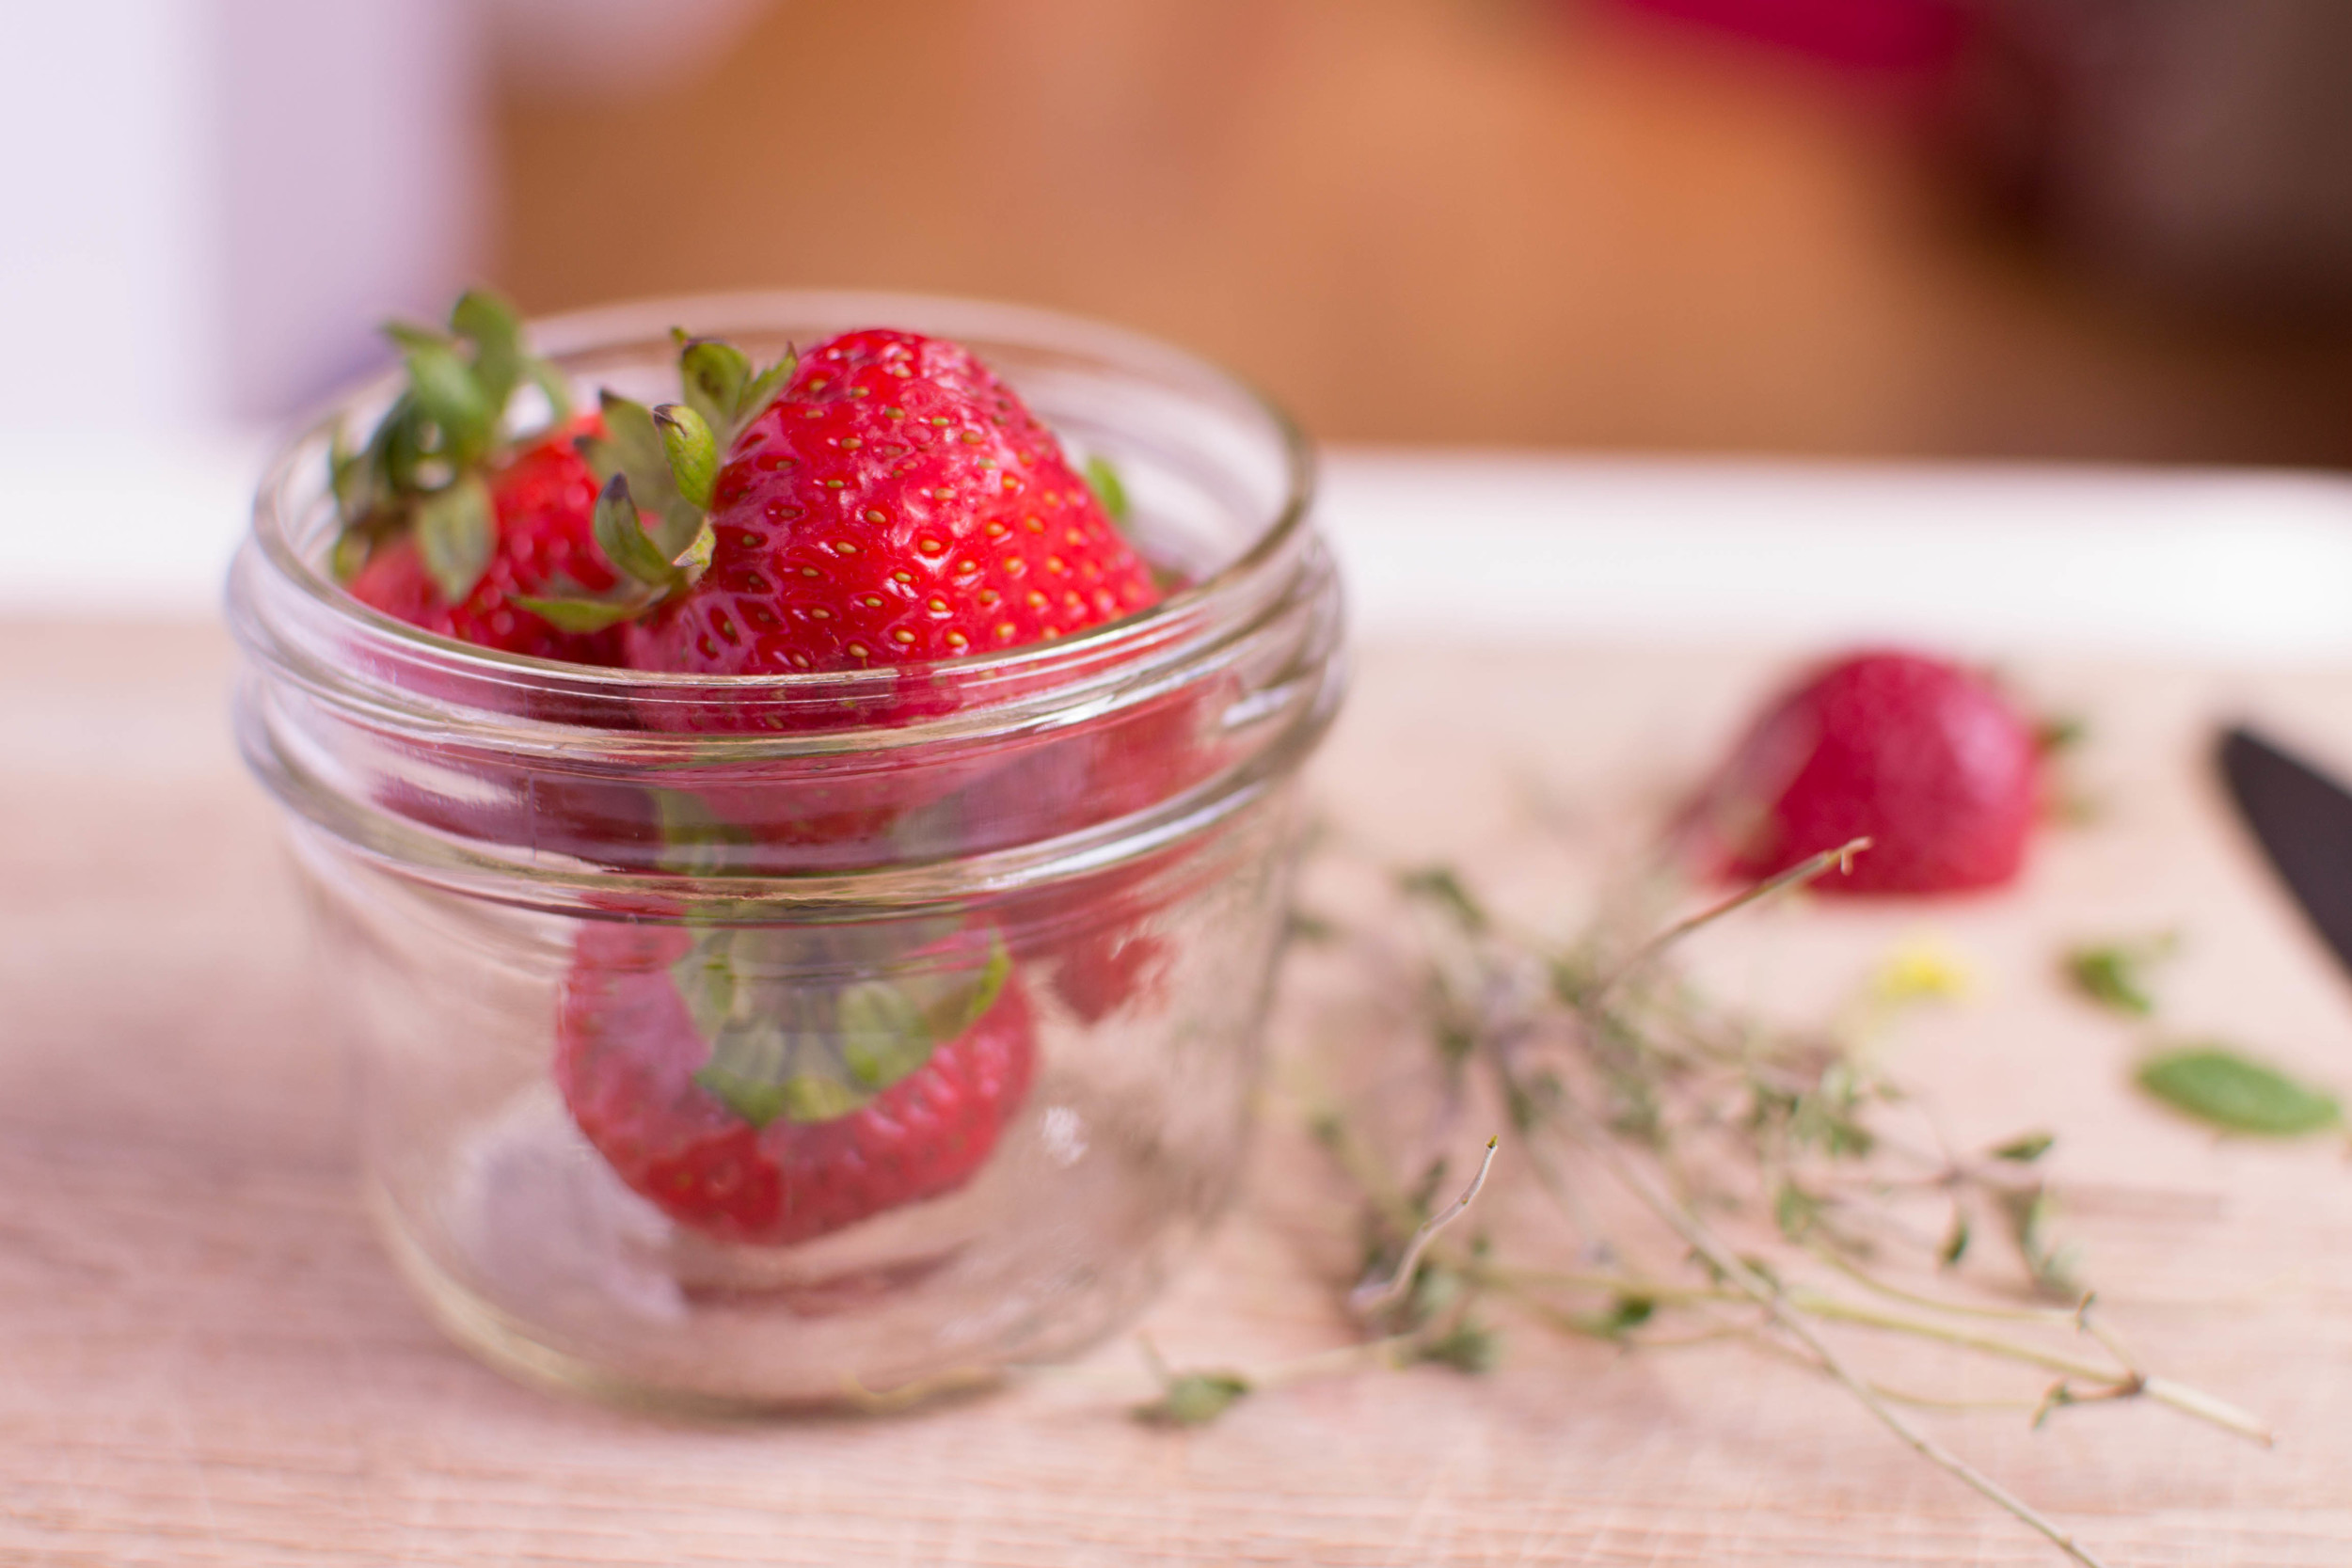
Clear blue skies. The smell of cedar and cool earth in the woods. The lake sparkling, stretching out nearly eight miles in the sunlight, from Blodel Donovan to Lakewood and beyond.

Right now we’re in the midst of a two-week period where temperatures are heading into the mid-to-high 80's. Yes, we are getting dangerously close to “glorious” here.

When it’s like this, your mood switches. As you meander along the trails snacking on huckleberries and wild cherries, things seem possible. Life isn’t closed off. Light is streaming in!

It’s “real” summer.

This morning, the weather made me think of my brother. Warren lives in always-sunny Southern California.

I remember describing to him what it’s like to live here. That during the shortest, rainiest days it is only by dreaming of the short burst of summer (someday) that we are able to get through the dark months.

“God, it’s like you live in Siberia,” He said.

Whenever we are visiting him in Southern California, we make a point of stopping at our favorite Japanese curry place inside a Little Tokyo mini-mall.

After the rich curry, Warren often orders coffee jelly. It’s slightly bitter, creamy and caffeinated. Even with milk or whipped cream topping it, it’s a refreshing dessert that never feels heavy or decadent.

Coffee jelly might seem a little weird at first, but if you’ve had Boba tea, the milky tapioca drinks that all of Asia and much of the rest of the world have long been wild about, it will fall easily into your comfort zone.

It’s good. Trust me.

There are as many ways to enjoy coffee jelly as there are ways to make a cup of coffee. If you like milk, pour some over the jelly. Want ice cream? That’ll do. Condensed milk Vietnamese style is another route worth exploring.

I like mine fairly unadorned, just whole milk and a generous spoonful of Chantilly cream – a softly whipped cream with small amounts of sugar and vanilla added. If you like more of a flourish, add a dusting of cocoa powder or raw cacao. Cinnamon might be nice.

A couple of additional notes. Initially, I used less liquid, which made the jelly too firm for my liking. But, if you prefer a less wobbly result, decrease the liquid by ¼ cup and your jelly will be more resilient.

And, because there are so few ingredients in this dessert, do use the best you have. In our home, we prefer Tony’s Coffee, a local roaster who produces rich and complex coffees.

We’re also somewhat particular about our dairy. We use non-homogenized, vat-pasturized organic cow's milk and cream. We also consume raw milk from a local producer whose cows are wholly grass-fed.

If your preference is for non-dairy, leaning toward almond or coconut milk, use that.

Choose what you like. That’s the beauty of it.

Happy Summer to all! Hopefully it is here to stay.

Coffee Jelly with Chantilly Cream

Ingredients
For the Coffee Jelly:
2 envelopes powdered gelatin (1/2 oz.)
1 3/4 cups very hot double-strength brewed coffee
½ cup cold double-strength brewed coffee
1 ½ Tablespoons sugar

For the Chantilly Cream:
1 cup heavy whipping cream
½ teaspoon vanilla extract
2 Tablespoons confectioner’s sugar

Cold whole milk for assembly of final dessert

Instructions
Coffee Jelly: Set aside a small glass square- or rectangular-shaped container. A small glass loaf pan will also work. You want your jelly mixture to reach 3/4 to an inch of height when you fill the container. You can spray the container with an aerosol oil (such as coconut) or later just place the pan in some warm water to allow for easier release of the jelly.

In a medium bowl, sprinkle gelatin on top of cold coffee. Allow to stand for 1 minute.

Add sugar to hot coffee. Stir to dissolve. Add hot coffee to gelatin mixture and stir until gelatin is completely dissolved.

Pour coffee mixture into your prepared container. Place flat in refrigerator to allow jelly to set. This will take a minimum of two hours. I like to make mine the night before serving.

Chantilly Cream:
Just before serving, place whipping cream and vanilla extract into mixing bowl. Add confectioner’s sugar by sifting in (optional – I don’t always do it). With an electric mixer, whip initially on low to combine ingredients then turn up to medium-high. This goes quickly. You will have soft peaks in 1 ½ minutes.

Assembly: Once jelly is set, cut into bite-size cubes. It’s easy to lift cubes out of the pan with an offset spatula or even a butter knife.

Place cubes in glass. Pour milk over the jelly. Top with one or two spoonfuls of Chantilly cream and any other additions to your liking.

Enjoy!

Serves 4.

In Summer, Desserts, Gluten-Free Tags Coffee Jelly with Chantilly Cream
Comment

Snap Pea Fried Rice with Korean Seasoning Paste

July 5, 2014

If bread is the staff of life for Westerners, rice is the very pillar for people of the Far East.

Hardly a day would pass without our Chinatown family enjoying its pleasures when I was growing up. 

White rice with coin purse eggs. Sautéed greens strewn across a bed of the fluffy grains. Bits of succulent meat in a colorful stir fry piled on top of individual bowls of rice.

We leaned heavily on rice. Put all our weight against it, you could say. 

We even found uses for it besides those epicurean.

Our grandmother somehow discovered for instance, that with the addition of a little water, old rice could be cooked on the stove top to make a glue-like paste for our myriad art projects. She usually cooked the mixture on a large metal spoon over a low flame.

It wasn't quite congruent with the many stories we heard about her. Like, how before the Sino-Japanese War, she had a house full of servants who did everything for her.

And, how when the Japanese burned down the family home, she fled with her children, my mother included. My grandmother's jewelry - the only things of value she could carry with her when they escaped - were sewn into the hem of her dress.

Even as child, these were the types of images that appeared in my mind whenever I watched her hold that spoonful of sticky paste over a flame.

For me, the best use of the hard-working grain has always been as fried rice.

A dish of economy, fried rice is one of the most satisfying ways to use that left-over hardened white (or brown) block inside some forgotten container in the back of nearly every fridge across America.

You know you have one. Go check. It's there.

Use it up! Right now! (As my grandmother, who incidentally, was quite bossy would say.)

Here’s what I did with mine. First, I had to stop my husband from throwing that chunk of old rice into a bowl to “nuke” in the microwave. He was intending for it to be his entire meal.

“Seriously? You’re having just that for lunch?” I said watching him.

He nodded.

“You can’t eat just that,” I insisted, snatching the rice from him. 

I remembered that we had an overabundance of snap peas from our veggie CSA. The fat little pods were crisp and sweet, but so many had appeared recently in our weekly produce box that we hadn’t quite managed to eat them all.

Snap Peas, Unadorned

I moved onto the flavorings.

Rice is great at absorbing whatever seasonings you add to it. The traditional flavorings for Chinese fried rice orbit around ginger and green onions, garlic and soy. Some soft, quickly cooked eggs might be added in for richness. Green peas might be thrown in with a handful of scallions at the end.

I chose to go a different route. I was thinking of kimchi.

If you haven’t had it, you must. Rambunctious, bold and always confident of being liked even when dressed in its full regalia of ground chili, garlic, ginger, anchovy sauce or whatever other un-shy finery it might be wearing, kimchi is delicious.

Often, when for no reason I think of it, my mouth will start watering.

Sadly, I had none in my refrigerator. Yes, I was utterly kimchi-less. So, I did the next best thing.

I made a seasoning paste with the exact ingredients I would normally use to make a bok choy kimchi. 

Korean pepper, garlic, ginger. Anchovy sauce not pictured.

I quickly sautéed my diagonal-cut snap peas first then set them aside.

Next, I seared my seasoning paste in a very hot pan with a few tablespoons of oil. The paste caramelized and took on a smoky flavor.

I added the block of old rice, using a wooden spoon to break it up as I worked the seasoning paste into it. Then, I let the rice sit in the hot pan in as thin a layer as possible to allow the rice to soften and take on all the flavors.

The snap peas were added back in toward the end after the rice was cooked through with the paste.

On top of that, I tossed in a generous amount of chopped cilantro and green onion for freshness. A generous drizzle of toasted aromatic sesame oil followed.

I scooped it up into a bowl and handed it over to Marc.

There, much better. Savory, spicy, fresh. Super quick. And made from leftovers.

"Thanks," He said smiling as he took the bowl. 

What are you waiting for? Go make some already!

*P.S. For those of you eating paleo or ketogenic, you can still make this using cauliflower rice. Add in some cooked bacon or add a fried egg on top! Delicious.

Snap Pea Fried Rice with Kimchi Seasoning Paste

Ingredients

For Kimchi Seasoning Paste:
1 ½ Tablespoons gochugaru (Korean chili pepper flakes)
1 Tablespoon anchovy sauce
1 teaspoon evaporated cane sugar
1 teaspoon minced garlic
½ teaspoon peeled, grated ginger

For Fried Rice:
1 cup fresh snap peas
3 ½ cups cooked leftover rice
Kimchi seasoning paste (see above)
1/3 cup chopped fresh cilantro plus more for garnish
¼ cup chopped green onions,  plus more for garnish
4-5 Tablespoons oil of your choice (I used olive oil)
Additional salt, as needed
Dark toasted sesame oil to finish dish

Instructions
In a small bowl, stir together ingredients for seasoning paste. Set aside to allow flavors to combine for about 15 minutes.

In the meantime, remove ends of snap peas by pulling down on top and bottom ends to remove string-like “tail.” After you have done this with all of your snap peas, cut each one on the diagonal into ¼-inch pieces and place them in a small bowl. Some of the peas from inside will begin to spill out one the entire pod is cut. Toss them into your bowl.

Heat skillet (or wok) over medium-high heat. Place a tablespoon or two of oil in your skillet. Toss in the cut snap peas (and loose peas). Season with a generous pinch of salt. Stir and toss to cook for 2-3 minutes. You want the peas to be still very crisp. Set aside.

Wipe out the skillet.

After your seasoning paste has had time to come together, place skillet or wok over high heat. Allow skillet to become nice and hot before turning down to medium-high. Add oil then paste. Allow paste to sizzle and cook until it darkens a bit. It may even smoke slightly.

Add rice, breaking any chunks by pressing down gently on it with a wooden spoon or spatula. Stir and flip rice with utensil to work paste in well then spread out in a layer on the bottom of the pan. Allow to cook undisturbed for 7-8 minutes. Scrape up rice and continue to flip and stir for 5-10 more minutes. This depends on how long your rice has been hanging out in the back of your refrigerator.

When your rice is sufficiently softened and cooked, toss in cooked snap peas. Toss and flip rice to combine. Toss in cilantro and green onions. Quickly combine then shut off heat. Taste for salt and add any additional as needed.

Scoop into a serving dish and garnish with additional chopped green onions and cilantro. Drizzle generously with sesame oil.

Serves 3 generously.

Tags Snap Pea Fried Rice with Kim Chee Seasoning Paste, Asian, Gluten-Free
Comment

Buttermilk Roti: A Flatbread

June 25, 2014

Back in the day, when I was still in grad school, I never thought much about foods from the Caribbean, although I did notice that the health food stores in Brooklyn, where I lived, seemed to be staffed by many West Indians who were vegetarians.

I also noted that the Jamaican patty place on Flatbush always smelled amazing when I walked by after my work shift at the Grand Army Plaza farmers' market.

For a girl who grew up in Chinatown, West Indian flavors just weren't on the radar.

Then, I met my husband, Marc.

I went home to look at a map after he told me that he was from Guyana. He said it was located in South America but considered part of the West Indies. On the map, Guyana was a small vertical oblong-ish shape east of Venezuela and north of a massive Brazil.

Over time, I got to learn a lot about an open-hearted culture composed of many different other ones. There were East Indians who came to Guyana as indentured servants, slaves brought from Africa.

There were the Arawak and Carib Amerindians who were already there around the time of Columbus. Then of course there were the Dutch and British colonialists.

Oh, wait. You can't forget the wave of Chinese who went there as contract workers in the mid-1800's either.

And we think America is a melting pot!

I find it so interesting for example, when you meet a Guyanese (or any other West Indian, for that matter) like Marc, who might have, say, a British last name because his family adopted it after converting to Christianity from Hinduism.

It’s a culture that also makes for some interesting food, a lot of it influenced by the South Asians who brought their food traditions with them.

One of the most ubiquitous of these is roti. Found from India and Malaysia to Thailand and the West Indies, roti is a type of soft flatbread that is usually unleavened and made from whole grains.

It is cooked on the stove top and in the West Indies, "clapped" immediately after it is removed from the griddle. Brave types use their hands, but those less adventurous (myself included) can use a pair of spatulas or wooden spoons.

Buttermilk Roti with Khatte Chole (Sour Chickpeas)

Roti is delicious warm and plain, dabbed with some salted butter and most of all when torn into pieces and used to sop up the delicious gravy from a plate of curry, as many Guyanese do.

Marc lives 2,500 miles away from his family (now in Toronto) and even farther than the place he left when he was four years old for the chilly north. It's been so long since he's been there that I think sometimes Guyana seems more like an idea, really, than an actual place to him.

Depending on each person, certain food has the magical ability to shrink time and distance. It can evoke powerful memories and trigger the cravings and longing that make us entirely human.

It seems essential then for us to roll up our sleeves and on occasion, prepare foods that defy the time-space continuum -- foods that make a nearly forgotten place real to us again. As real and solid as Mount Ayanganna and its sandstone tepui. Or the Demarara River, flowing northward from the central rain forests to the Atlantic.

That is why I make roti. 

This version includes buttermilk, which is not typical in a Guyanese roti. I'm not a purist. Just someone who enjoys the slight tang of buttermilk and its tenderizing effects on dough.

West Indian roti also includes leavening (unlike traditional Indian roti), usually in the form of baking powder.

Along with the lengthy rest time, the buttermilk makes for a supple dough that you will find more than willing to work with you.

The cook time itself is very, very short (even shorter if you like your bread less well-done than I do). Other than having to wait for the dough to rest, this all comes together in no time at all.

Make a cut from the center and begin rolling in one direction.

Roll the dough all the way, push the bottom tip in to make it look like a cinnamon bun. Cute.

Buttermilk Roti

Ingredients
2 cups all-purpose flour
2 cups spelt flour
½ teaspoon salt
1 teaspoon honey
1 ½ Tablespoons melted/clarified butter, plus more for cooking
1 cup water (more as needed)
½ cup buttermilk

Instructions
Lightly oil a large bowl.

Mix flours, salt, honey and butter together in large bowl. Make a well in the middle of the flour mixture and add buttermilk then water. Bring mixture together with your fingertips or a wooden spoon. Knead in until soft and elastic – about 7 minutes. If needed, add additional water if the dough seems dry and is having trouble coming together. Place dough in oiled bowl. Cover and allow to rest in refrigerator overnight (8-12 hours).

Remove dough from refrigerator. Allow to rest at room temperature for at least 20 minutes.

Ease the dough out of the bowl. Knead for two minutes until smooth. Cut into eight equal pieces. On a lightly floured surface, roll each piece out to at least five inches in diameter.

From center point of circle, cut dough to one side, reaching to the edge of the circle of dough. Roll the dough from the center cut to form a cone. Using your index finger, push the tip of the cone in. Your dough will now look like the shape of a cinnamon roll. Repeat with remaining pieces.  Cover and allow dough to rest another 15-20 minutes.

On a lightly floured surface, flatten each piece of dough, rolling it out to a circle just slightly smaller than your cooking surface. If you feel like it, you can also pick it up and stretch it a bit with your hands (as you would with pizza dough) instead of rolling it out the entire way.

Heat your griddle or pan* and brush with thin layer of melted butter. Place dough on the pan and cook for 45 seconds, brushing the edges of the roti with a bit more butter. Turn and cook on other side for an additional minute.

Remove the cooked roti. Use two wooden spoons to beat it (or “clap” it, as my husband describes it) for about 30 seconds. You want the surface to be ruptured and flaky.  Slather on a bit more of butter if you wish. I always do. Serve warm.  

*Note: The traditional type of pan used for roti-making is called a tawa. I don’t currently have one in my stash of kitchen cookware. If you don’t either, a flat cast-iron griddle works well, as does a large cast-iron skillet.

In West Indian Tags Buttermilk Roti: A Flatbread, Bread, Baked Goods
Comment

Pot de Creme with Roasted Strawberries

June 22, 2014

Have you seen all the roasted strawberry ice cream recipes floating around the internet lately?  

Okay, I had to try one. I chose David Liebovitz’, which also includes miso. But, I skipped the miso since I didn’t have any. And, I used my neighbor Heather’s ice cream machine, which she lent to me while she was out of town.

This ice cream! My, was it delicious.

If you haven’t made it already, you should. It is incredible: A creamy vanilla base streaked through with sweet-tart, deeply-flavored strawberries.

Roasting the fruit removes much of the water and cooking it with the syrup helps prevent the fruit from freezing into icy bits. Instead, while in the oven, the strawberries develop a complexity worthy of partnership with the cream-and-custard base.

After Heather returned, I gave the machine back (and have been contemplating buying one ever since). Yes, fresh ice cream is incomparable.

I know there are many ice cream recipes out there which don't require a machine, including some by Nigella Lawson. I just haven't tried them yet. But I will. Soon.

Today, though, I was craving flavors similar to that strawberry ice cream. The David Liebovitz one. 

I made this instead.

Nothing plain Jane about this custard...

Pot de crème is basically an egg custard. It is a simple and often considered by some as a homely sort here in America, where the general preference runs toward more showy, decadent desserts whose names suggest the idea of sin.

Sometimes though, all I want is a little sweetness and nothing over the top. As I made my pot de creme today, I remembered eating an ethereal, just sweetened steamed custard before bedtime as a child. 

I encourage you to embrace the humble custard. Classic ice cream begins with a custard, so why not choose this?

I made the same roasted strawberries from the David Liebovitz recipe and put them in the bottom of a glass topped with a vanilla custard. Then, I put the whole thing into a water bath in the oven. After my custards cooled a bit, I spooned just a tad more of the strawberries and syrup over each one.

Not ice cream. Not David Liebovitz’ most delicious ice cream ever, but a good second choice. Which I'd say is not a bad thing at all.

Here’s to being Number Two! 

P.S. If you want to be a real American about it, a good dollop of sweetened whipped cream on top would also be divine.

Pot de Crème with Roasted Strawberries

Makes 6 small custards (in 4-6 ounce ramekins). Or, make fewer but larger ones, if you wish!

Ingredients
For the Roasted Strawberries
1 dry pint strawberries, hulled
1 ½ Tablespoons golden syrup or honey
¼ teaspoon balsamic vinegar
A couple of turns of fresh black pepper

For the Custard
2 1/3 cups half-and-half
1 vanilla bean, split in half
5 large egg yolks
¼ cup evaporated cane sugar
½ teaspoon vanilla extract

Instructions
Roasted Strawberries: 
Preheat oven to 375 degrees. 

Cut berries into quarters. Place in a wide, shallow dish. Drizzle golden syrup and balsamic vinegar over the berries. Sprinkle pepper on top. Place on top rack of oven. Stir once or twice during the cooking process. Allow to cook for 30-40 minutes, until berries are softened, have darkened a bit and syrup has become thickened.

Add a tablespoon to the bottom of each ramekin; set aside. (Strawberries may be prepared up to three days ahead and refrigerated.)

Custard:
Preheat oven to 320 degrees.

In a saucepan, place half-and-half. Using a small paring knife, scrape in vanilla seeds from split bean and toss in the pod itself. Bring to a gentle boil then remove from the pot. Allow to infuse for a minimum of 30 minutes. Use a fine sieve, strain the liquid. The half-and-half should remain warm to the touch.

In a bowl, beat the yolks with the sugar. Pour the infused half-and-half slowly, whisking the mixture. Stir in the vanilla extract. Pour the mixture into your ramekins or jars, making sure to remove any foam that might have formed on the surface.

Set jars in a pan and fill half way up the sides of the jars with warm water. Cover tightly with foil. Place in oven and cook for 40-45 minutes, until the custard is jiggly but not set.

Top with remaining roasted strawberries and/or sweetened whipped cream.

Note: Can be stored in the refrigerator for up to 3 days after warming up at room temperature. But these are best when still slightly warm! 

Adapted from/inspired by the amazing David Liebovitz.

In Fruit, Summer Tags Pot de Creme with Roasted Strawberries, Gluten-Free
Comment

Turkey Mini-Burgers with Spinach, Carrot and Cumin

June 16, 2014

My neighbors came home after several weeks away to a kitchen garden gone bonkers. I had done my best to tame the beast, eating as much spinach, lettuce, chard and green onions each day as I possibly could.

But, by the time they got back, it was as if no one had ever touched that garden at all. It was like the thing was on steroids.

This dish is for those of you who have a garden bursting with spinach right now (you know who you are) and are wondering about what to do with the overwhelming abundance that is yours.

The neighbors did end up asking for suggestions about what to make with all the spinach they had. When in doubt about what to do with a ton of veggies, I say make it into meatballs. Or, in this case, cute little mini-burgers. 

I suddenly thought of a recipe I recently made from the cookbook, Jerusalem (if you don't already own it, it's a must-have, beautiful and inspiring.). That recipe pairs turkey and zucchini into a burger. 

These, like the ones from Jerusalem, are of the turkey variety, but really, you could use whatever you have on hand. Beef. Pork. A blend of meats even, for those of you who dare.

The spinach adds succulence to the petite patties. Along with the egg, shredded carrots act as a binder and keep our little friends held together and presentable.

Cumin is savory, earthy and adds a little mystery (in a totally good way). It always goes so well with carrots. A smattering of green onion and garlic add to the already delicious flavors.

You can easily double the recipe and freeze any extras. When you suddenly have a zillion things going on and pretty much no time to cook dinner, you’ll be happy when you remember these are around. You might even burst into song.

While you are singing (or not), toss these onto a baking sheet to reheat while you are throwing a salad together.

Stir together a little sauce, which if you tend to multi-purpose things as I do, can also serve as a dressing for your sturdy greens. Just thin it a bit with water if you are going to use it for the salad.

While your family scarfs these down, perhaps wondering how you ever had time to make these bites of deliciousness with all the other things you had to do today (such as tame a crazy kitchen garden), you can sit back and gloat.

Or eat, before it’s all gone.

Hurry along now, then.


Turkey Mini-Burgers with Spinach, Carrots and Cumin

Serves 4 to 6

Ingredients

Sauce
5 teaspoons light tahini paste
¼ cup water
1 Tablespoon freshly squeezed lemon juice
½ clove garlic
2 Tablespoons flat-leaf parsley, finely chopped
¼ teaspoon salt

Mini-Burgers
1 lb. ground turkey
4 cups spinach leaves, packed
1 medium carrot, grated
4 green onions, thinly sliced (white and green parts)
1 large egg
3 Tablespoons cilantro
2 cloves garlic, minced
1 teaspoon ground cumin
1 teaspoon salt
½ teaspoon freshly ground black pepper
½ teaspoon cayenne
3 Tablespoons sunflower oil
3 Tablespoons melted unsalted butter (or ghee) for searing

Instructions

For the sauce: Mix together listed ingredients, stirring well. Set aside.

For the mini-burgers: Preheat oven to 425 degrees. In a large bowl, combine all ingredients for the mini-burgers except for sunflower oil and butter.  Use your hands to shape into small burgers, about 1 ½ inches in diameter. You should be able to make about 18.

Pour your oil into a large frying pan. Add butter. The entire bottom should be covered. Heat over medium-high heat until hot, then sear the mini-burgers in batches on all sides. Cook each batch for about 4 minutes. You want them to be seared, but not cooked through. You may need to add additional oil after the first batch.

Transfer the mini-burgers to a baking sheet lined with foil or parchment paper and put in the oven for 5 to 7 minutes. They should be just cooked through. These can be served warm or at room temperature. Sauce can be served on the side or spooned over them. 

Lightly adapted from Ottolenghi and Tamimi's wonderful Jerusalem.

In Gluten Free Tags turkey mini-burgers with spinach, Dinner, lunch, light supper, gluten-free, Turkey Mini-Burgers with Spinach
Comment
← Newer Posts Older Posts →
Change is in the air/hair. #haircut #newhair #goldcombsalon #pnwfall
When’s the last time you saw a 5-day old baby donkey? We saw this one today. He stopped to say hi to us after nuzzling his sweet mama. #cutenessoverload #donkey #farmlife #pnw
New bread board, close up. My goodness, what an amazing Mother's Day present! It's a single piece of maple 2 1/2 x 4 feet with gorgeous spalting. Mark the woodworker at Hardwood to Get here in town spiffed it all up for me. Happy Mother's Day to all
So here's my question. If it's a double rainbow does that mean there are two pots of gold? #rainbow #pnw #pnwspring
This book! Ugh, just glorious. My brother keeps those Amazon warehouse robots busy by sending me amazing books he thinks I should read. Everyone needs a brother like him. #emilferris #readingbingetonight #myfavoritethingismonsters #graphicnovel
Bold bake for breakfast today. It's the rye-wheat from @blainewetzel 's beautiful Sea and Smoke. I love how this book highlights so many special plants and ingredients we have in this area, including those right here across the bay from alumni. #rye
From the weekend Easter Egg Hunt. While all the kids and competitive kids-at-heart were running through the woods looking for eggs, I was on the forest floor snipping nettles and fiddleheads. Priorities, you know? I managed to leave the hunt with one
Ssh! Don't tell. We went off the trail! But then we found salamander eggs, tree frogs and touched our fingers to a cascade of sap flowing down the side of a Douglas Fir tree. Spring means the woods are noisy and so alive. #exploringnature #nature #wo
So I was minding my own business, trying to get a #crumbshot of the Country Loaf I made during @matts_miche 'a awesome bakealong, when someone's paper airplane landed exactly on top of my loaf. #photobombed #bread #bread🍞#naturallyleavened #sourdoug
“It is impossible not to love someone who makes toast for you. People’s failings, even major ones such as when they make you wear short trousers to school, fall into insignificance as your teeth break through the rough, toasted crust and sink into the doughy cushion of white bread underneath. Once the warm, salty butter has hit your tongue, you are smitten. Putty in their hands.”
— Nigel Slater

Still Hungry?
Enter your email address:

Powered by Squarespace